No products in the cart.

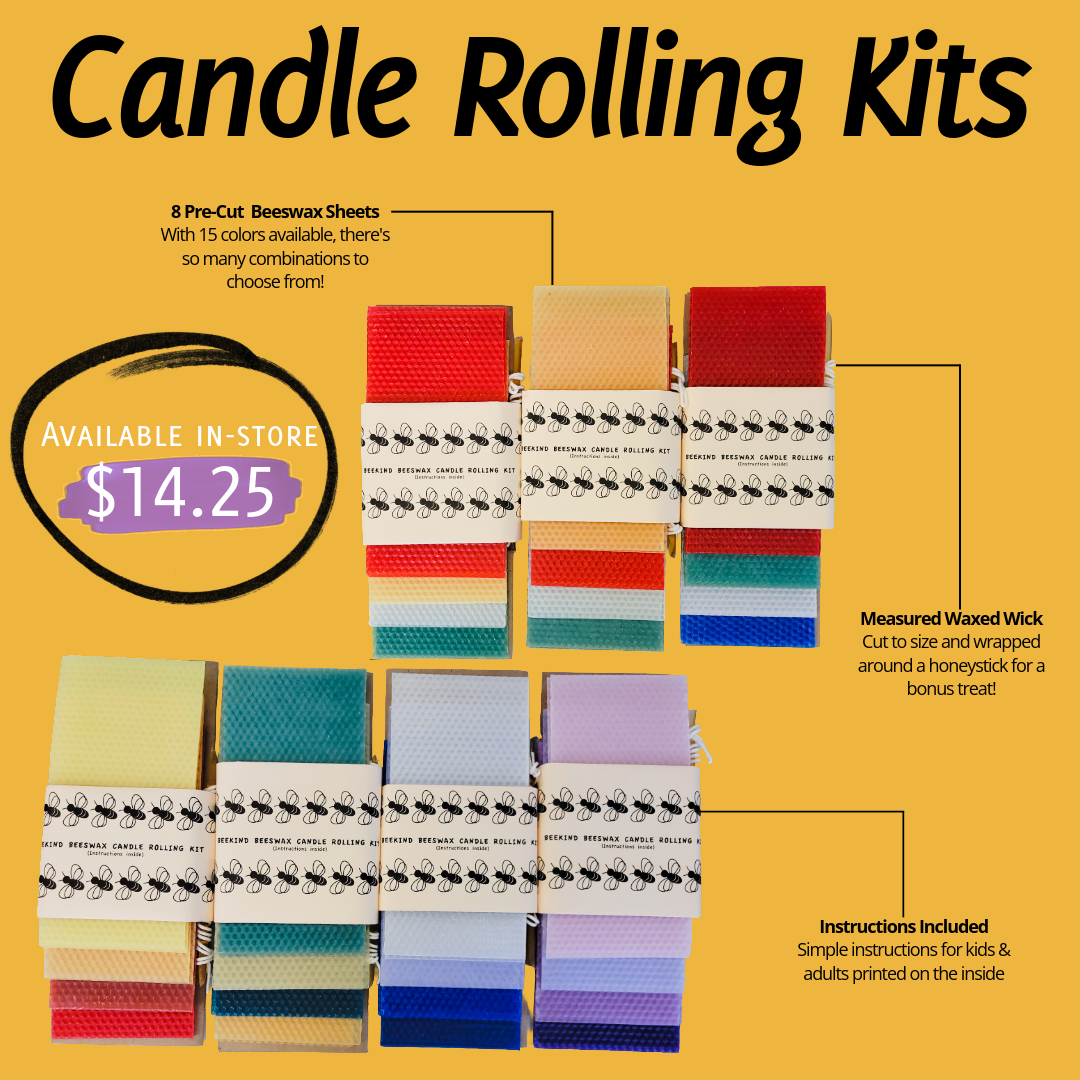
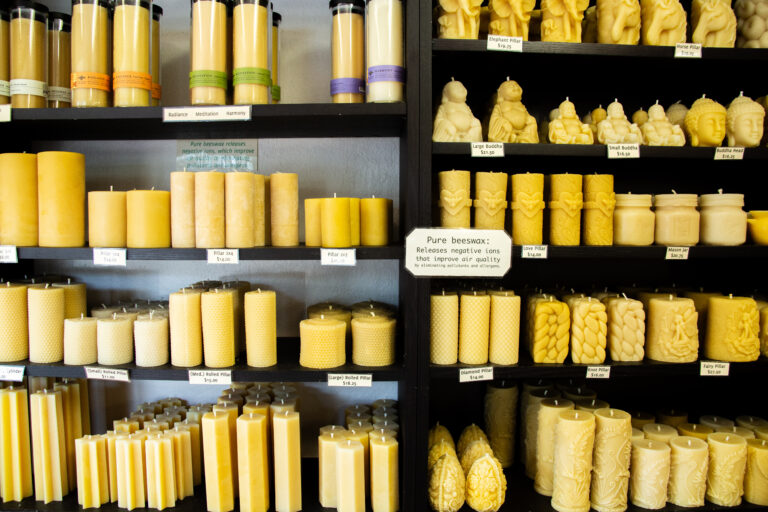
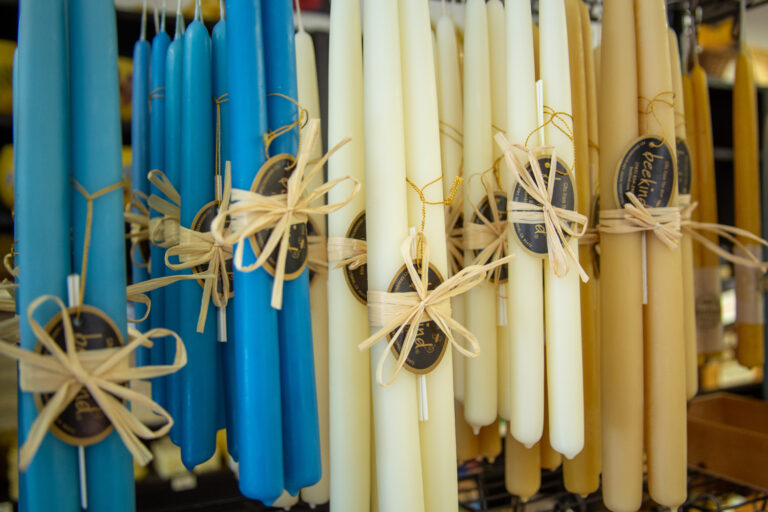
Beekind's candle making kits come with everything you need: sheets of beeswax, pre-waxed and measured wick (wrapped around a honeystick!), and instructions to guide you through the simple process.With Beekind’s candle rolling kits, children and adults alike can create eight candles that burn clean and bright, perfect to place in candle holders around the home or give as handmade gifts.
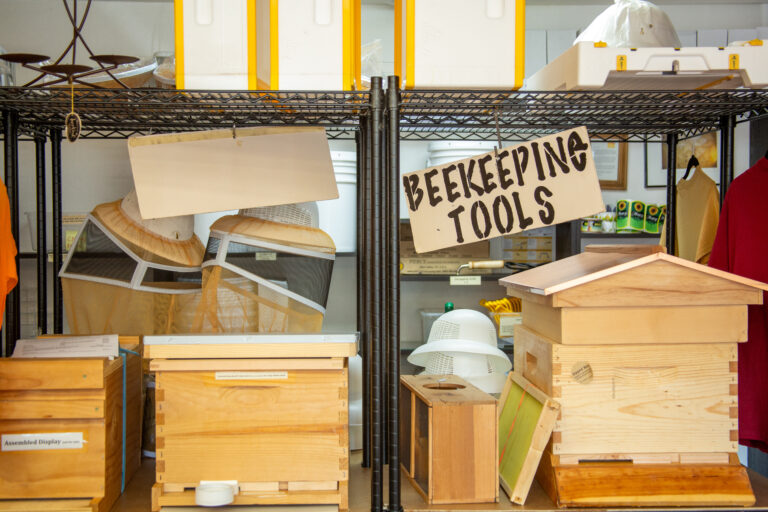
If you prefer, you can purchase individual full or half sheets and wick by the yard to keep the tradition going all season long.
Always use pre-waxed wicks for rolled candles. If the wick isn't already waxed, it will burn out before the beeswax has a chance to melt and become fuel for the flame. Use square braided wick. Beeswax requires a larger wick than other waxes. Avoid wicks with lead or zinc. All of our wicks are square-braid, free from lead or zinc, and are safe and non-toxic. One way to test wick is to press the wick onto a piece of paper and drag it while pressing with your finger. If it "writes" or leaves a mark it probably contains things you don't want to breathe.
Beeswax sheets can be cut to any size you like. For a classic taper candle, cut the sheet on a diagonal.
Best cutting tool: A pizza cutter with a round cutting edge works beautifully. Use a ruler to keep your line straight and apply firm, even pressure as you roll the cutter along the edge.
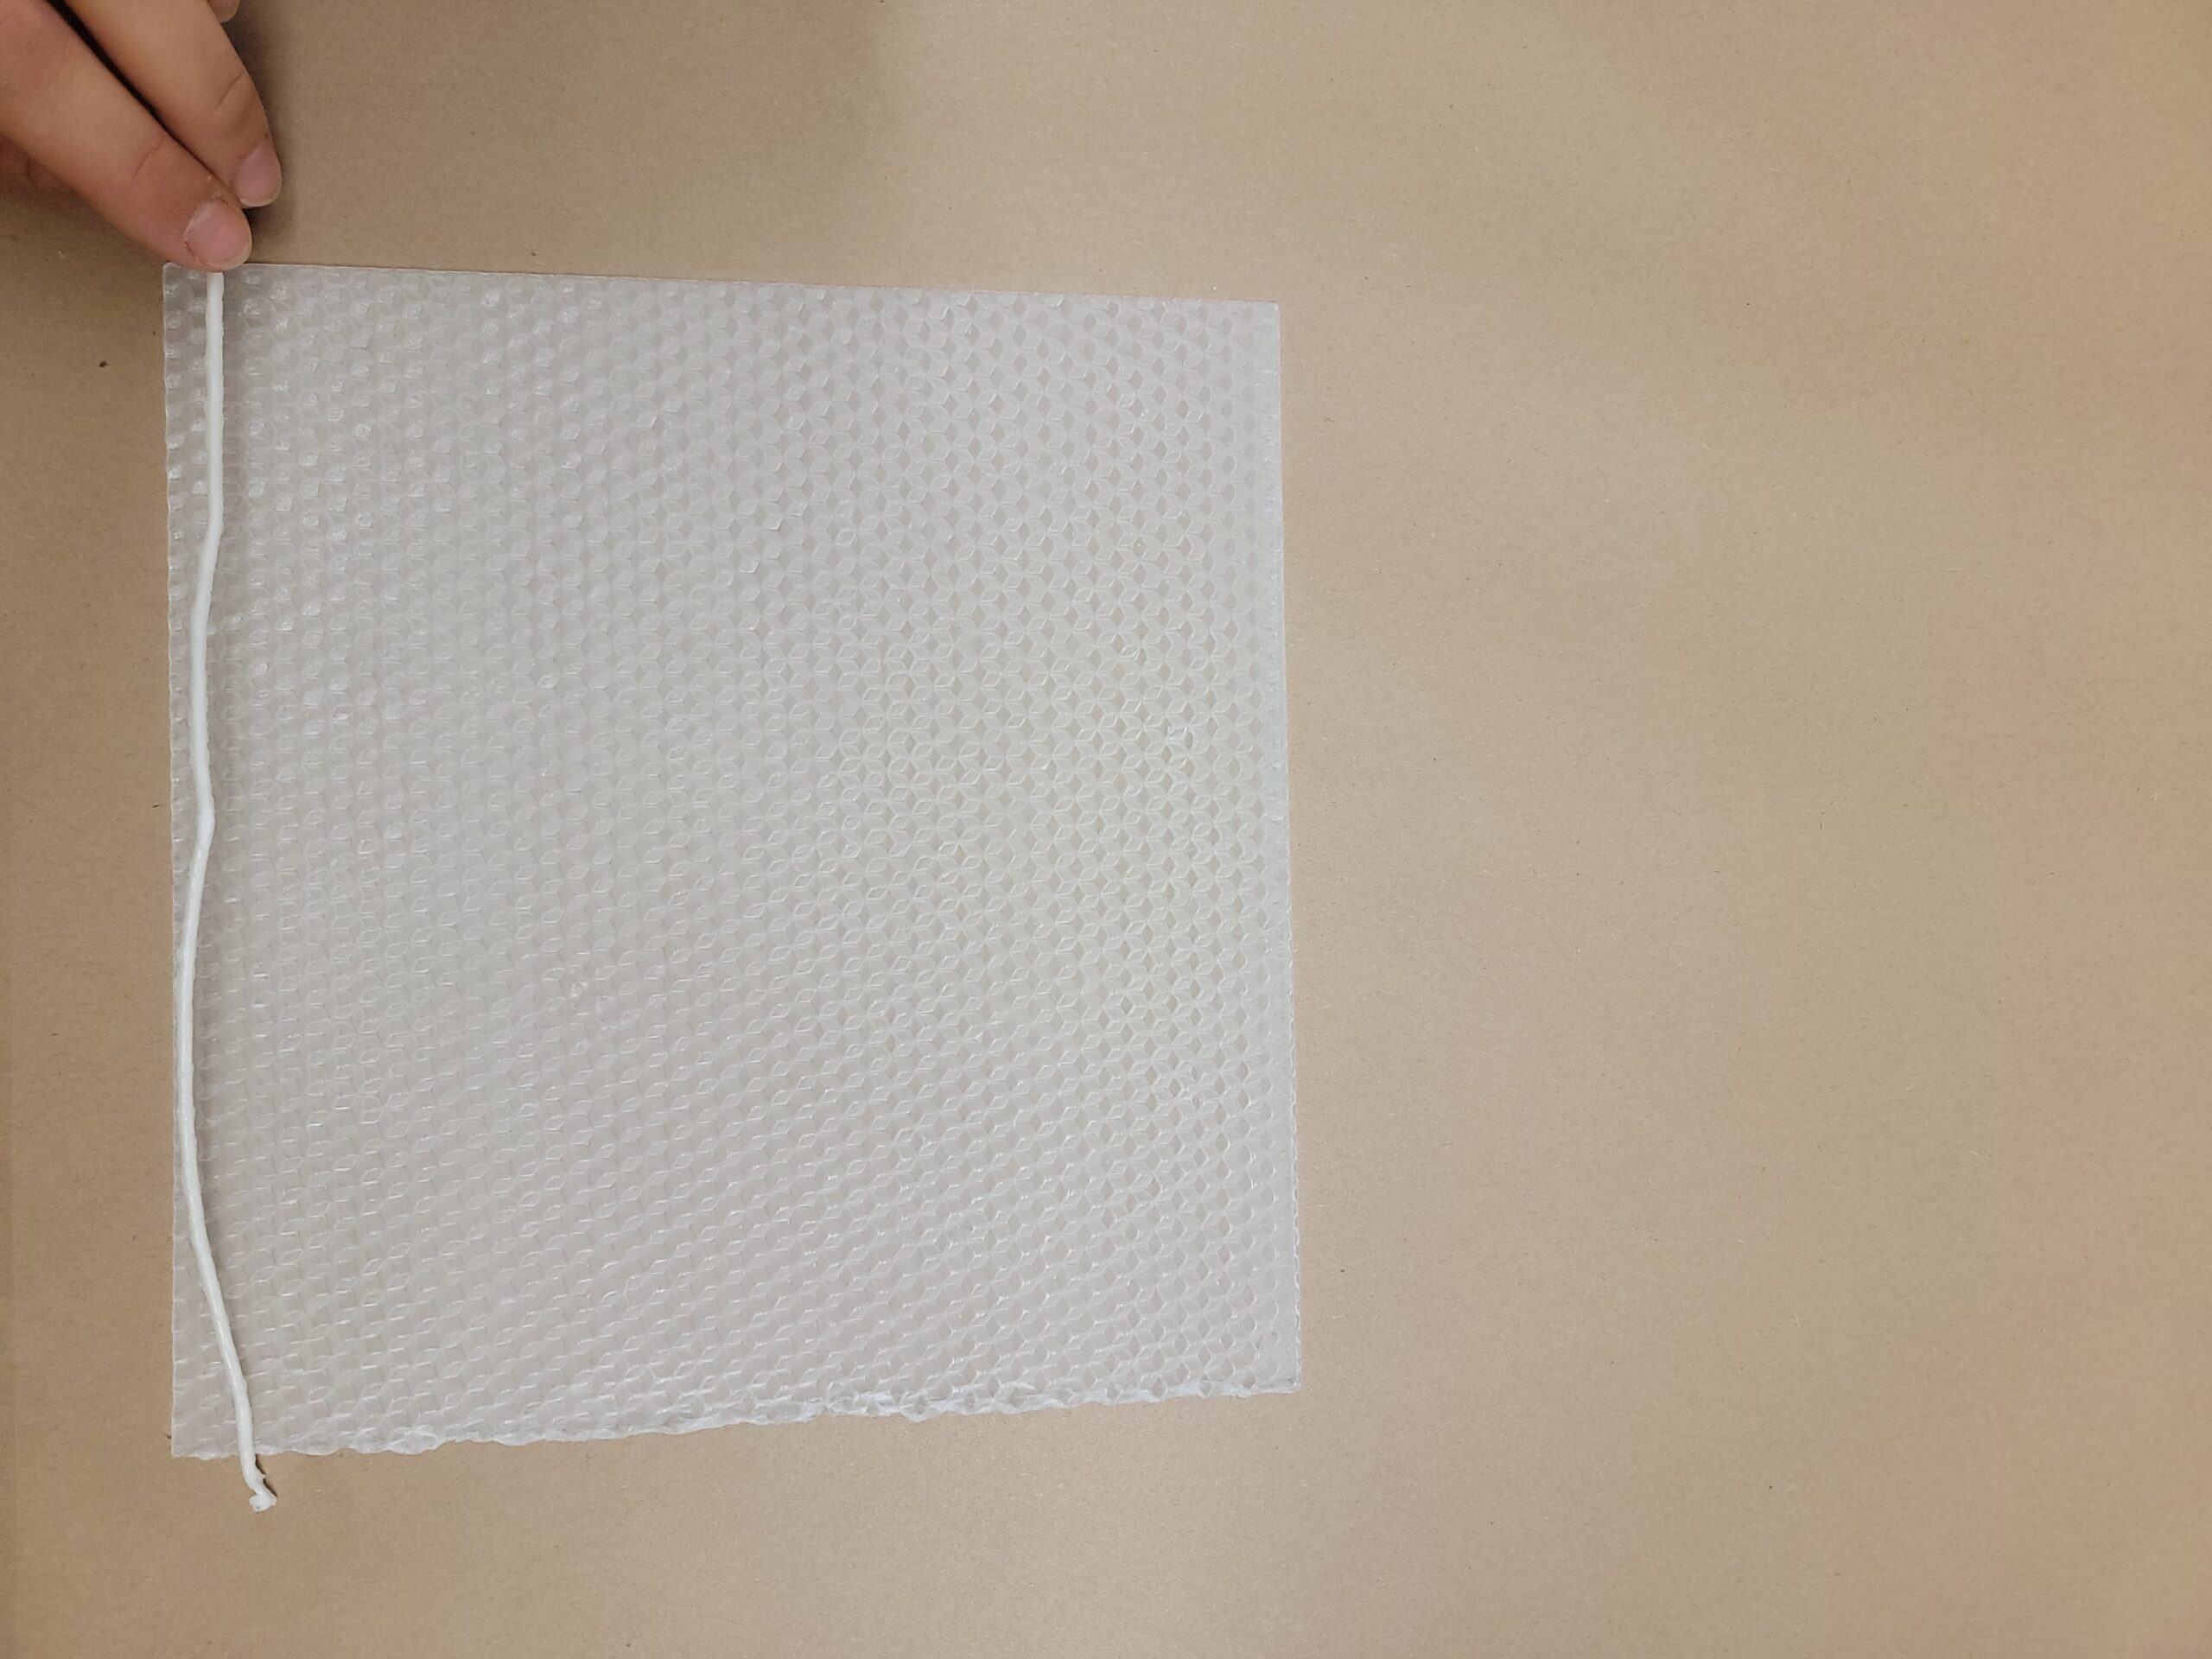
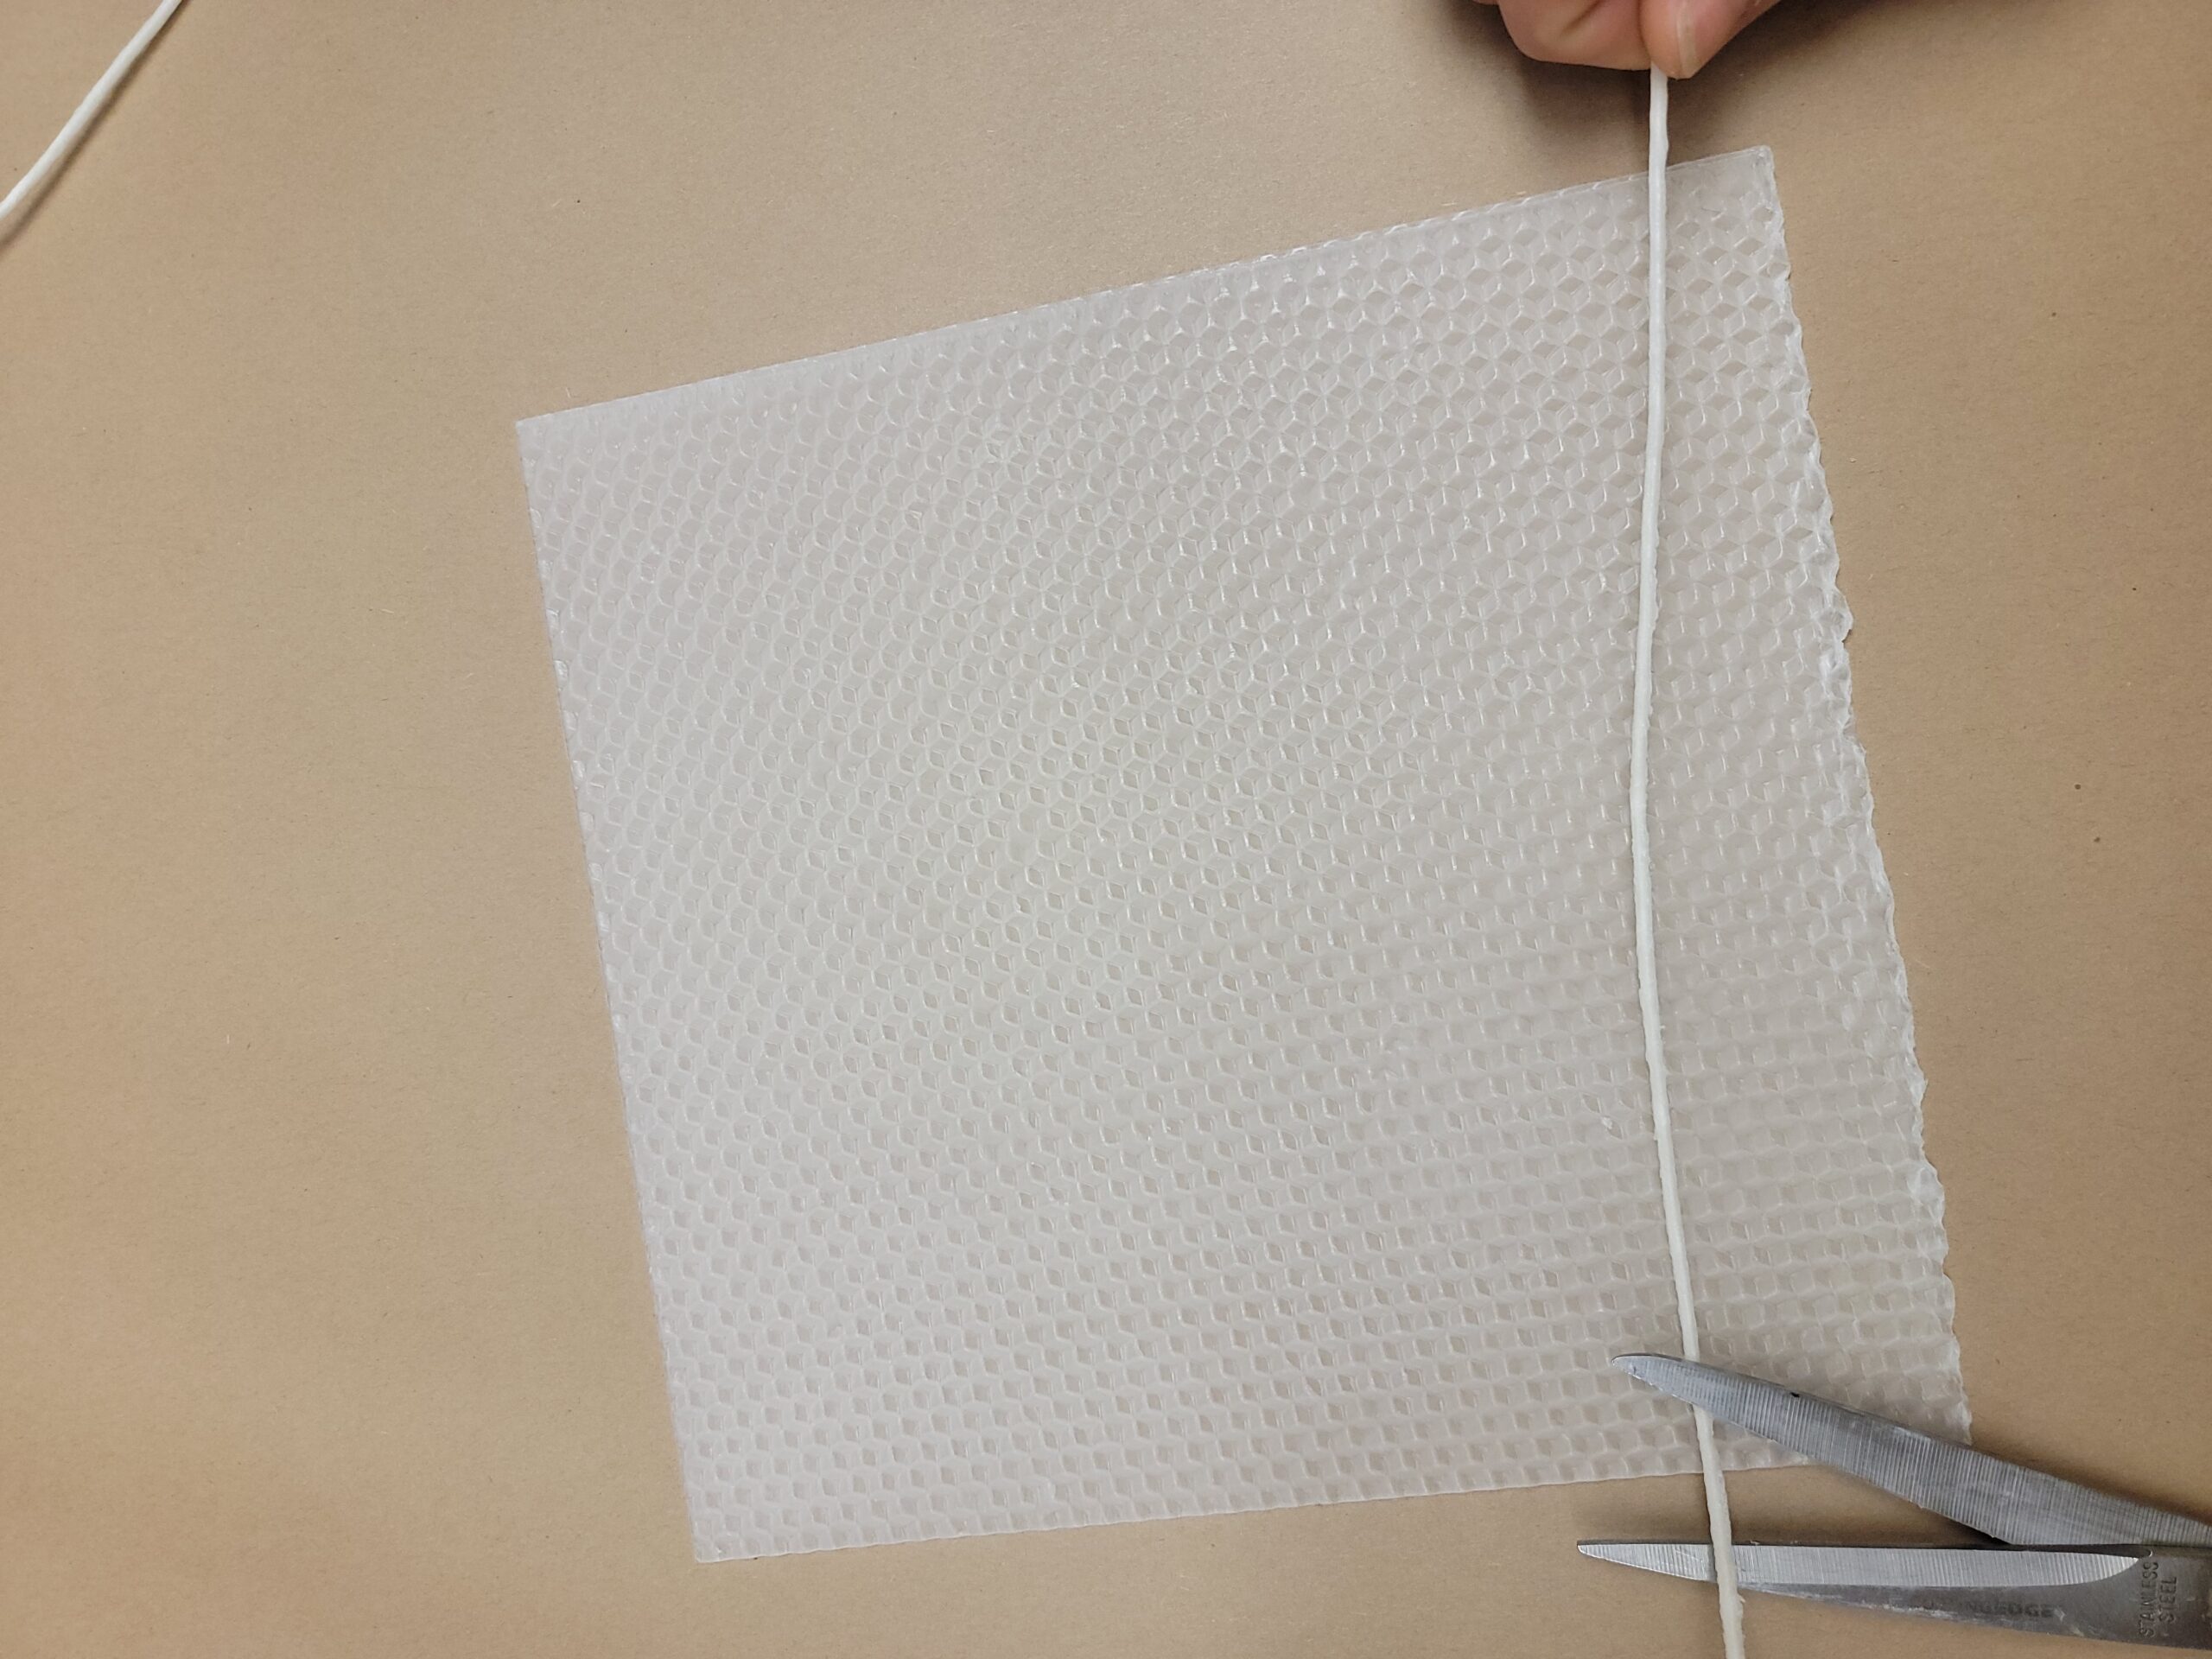
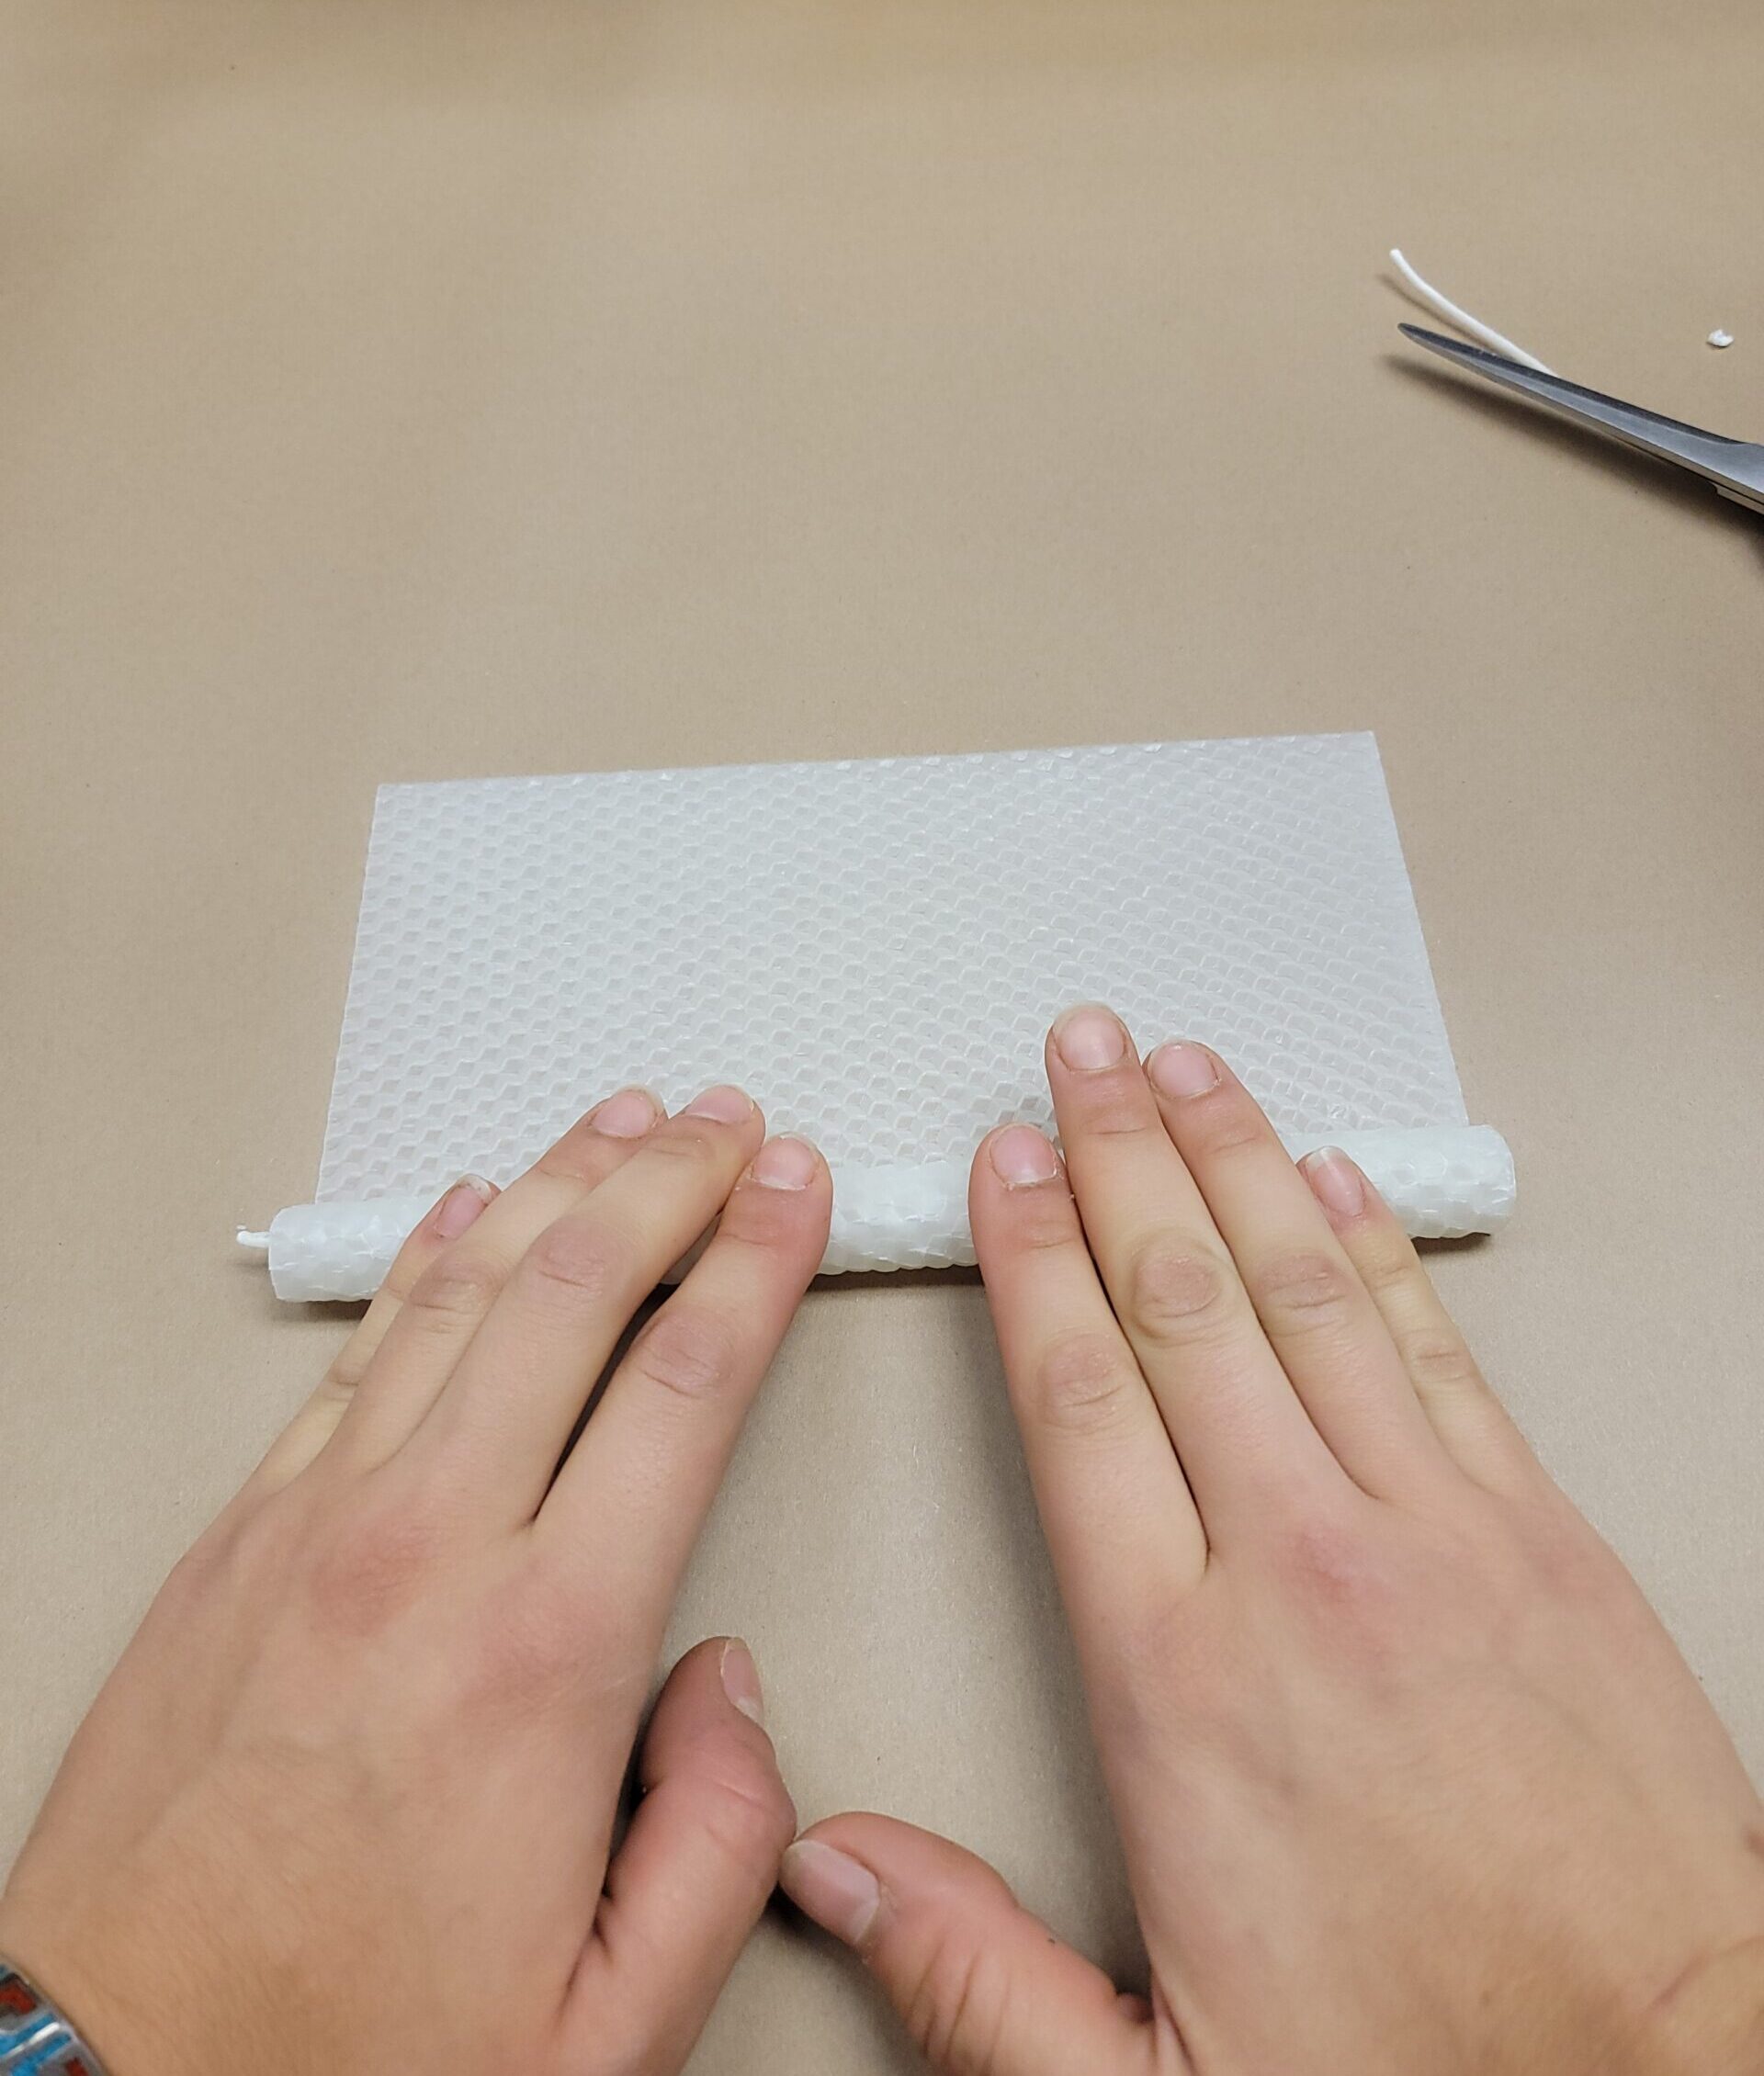
Lay the wick along one edge of your wax sheet, leaving about ½ inch of wick hanging over the top edge—this will be the part you light. The opposite end will become the base.
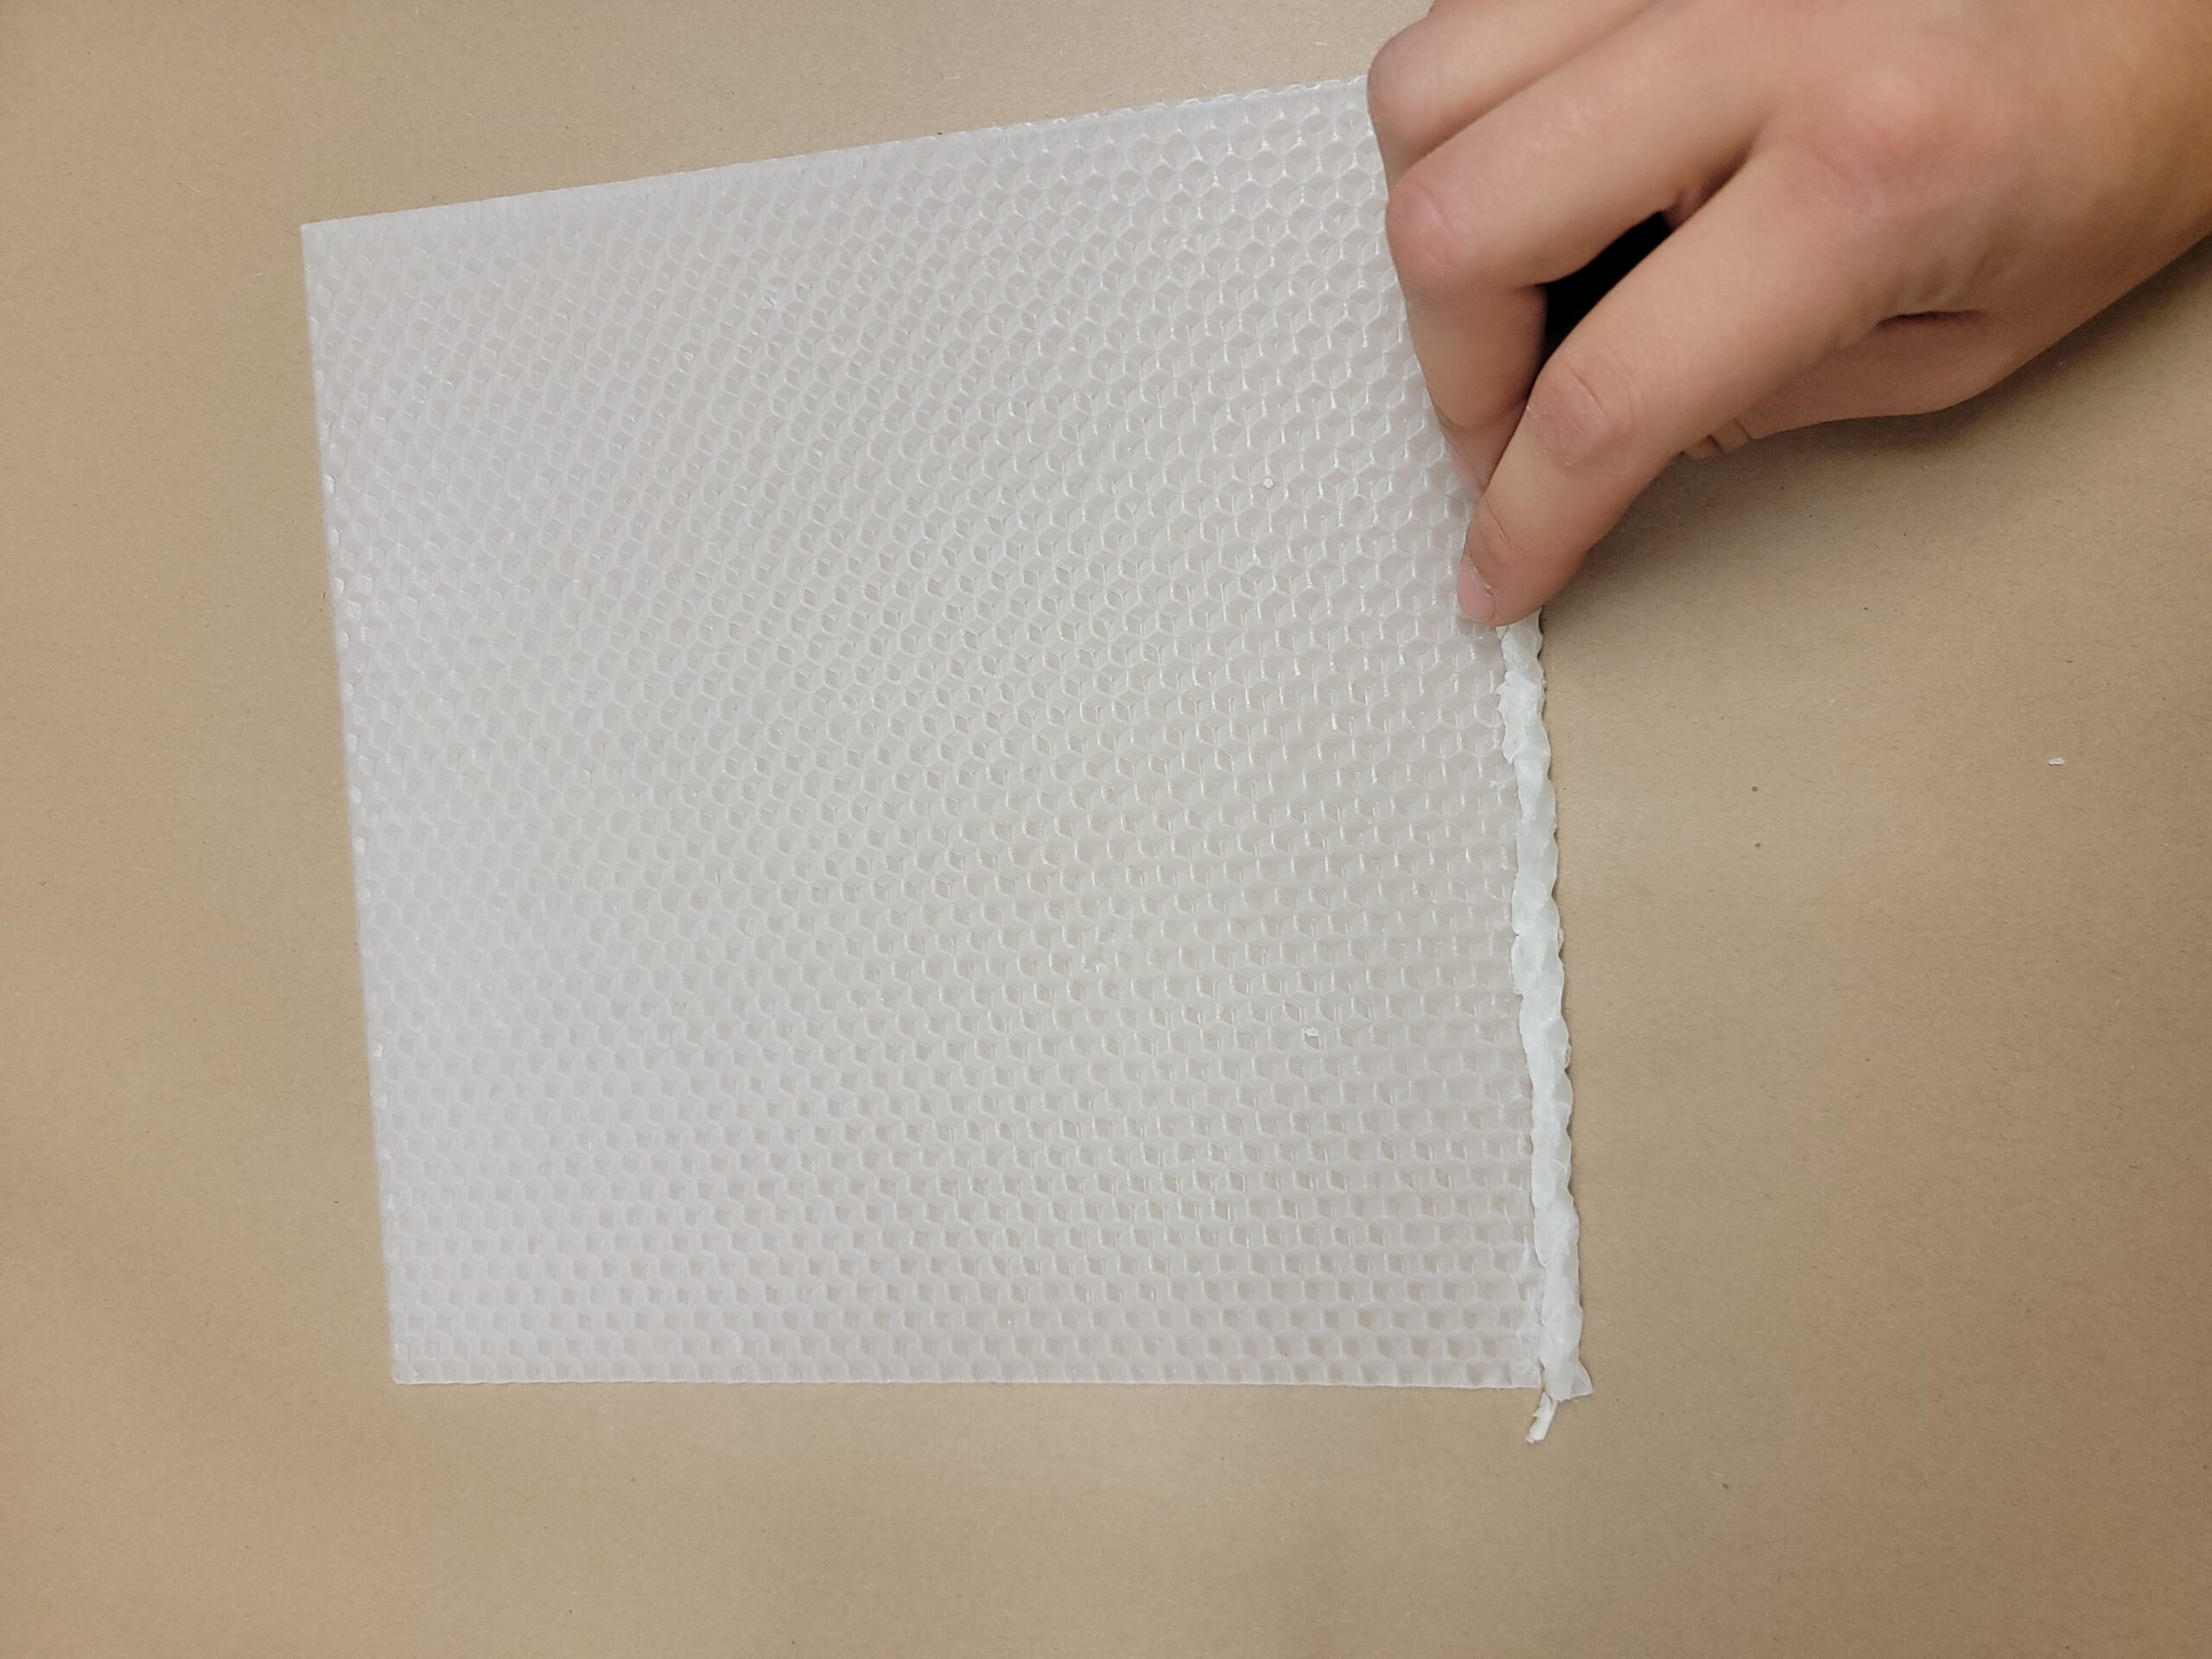
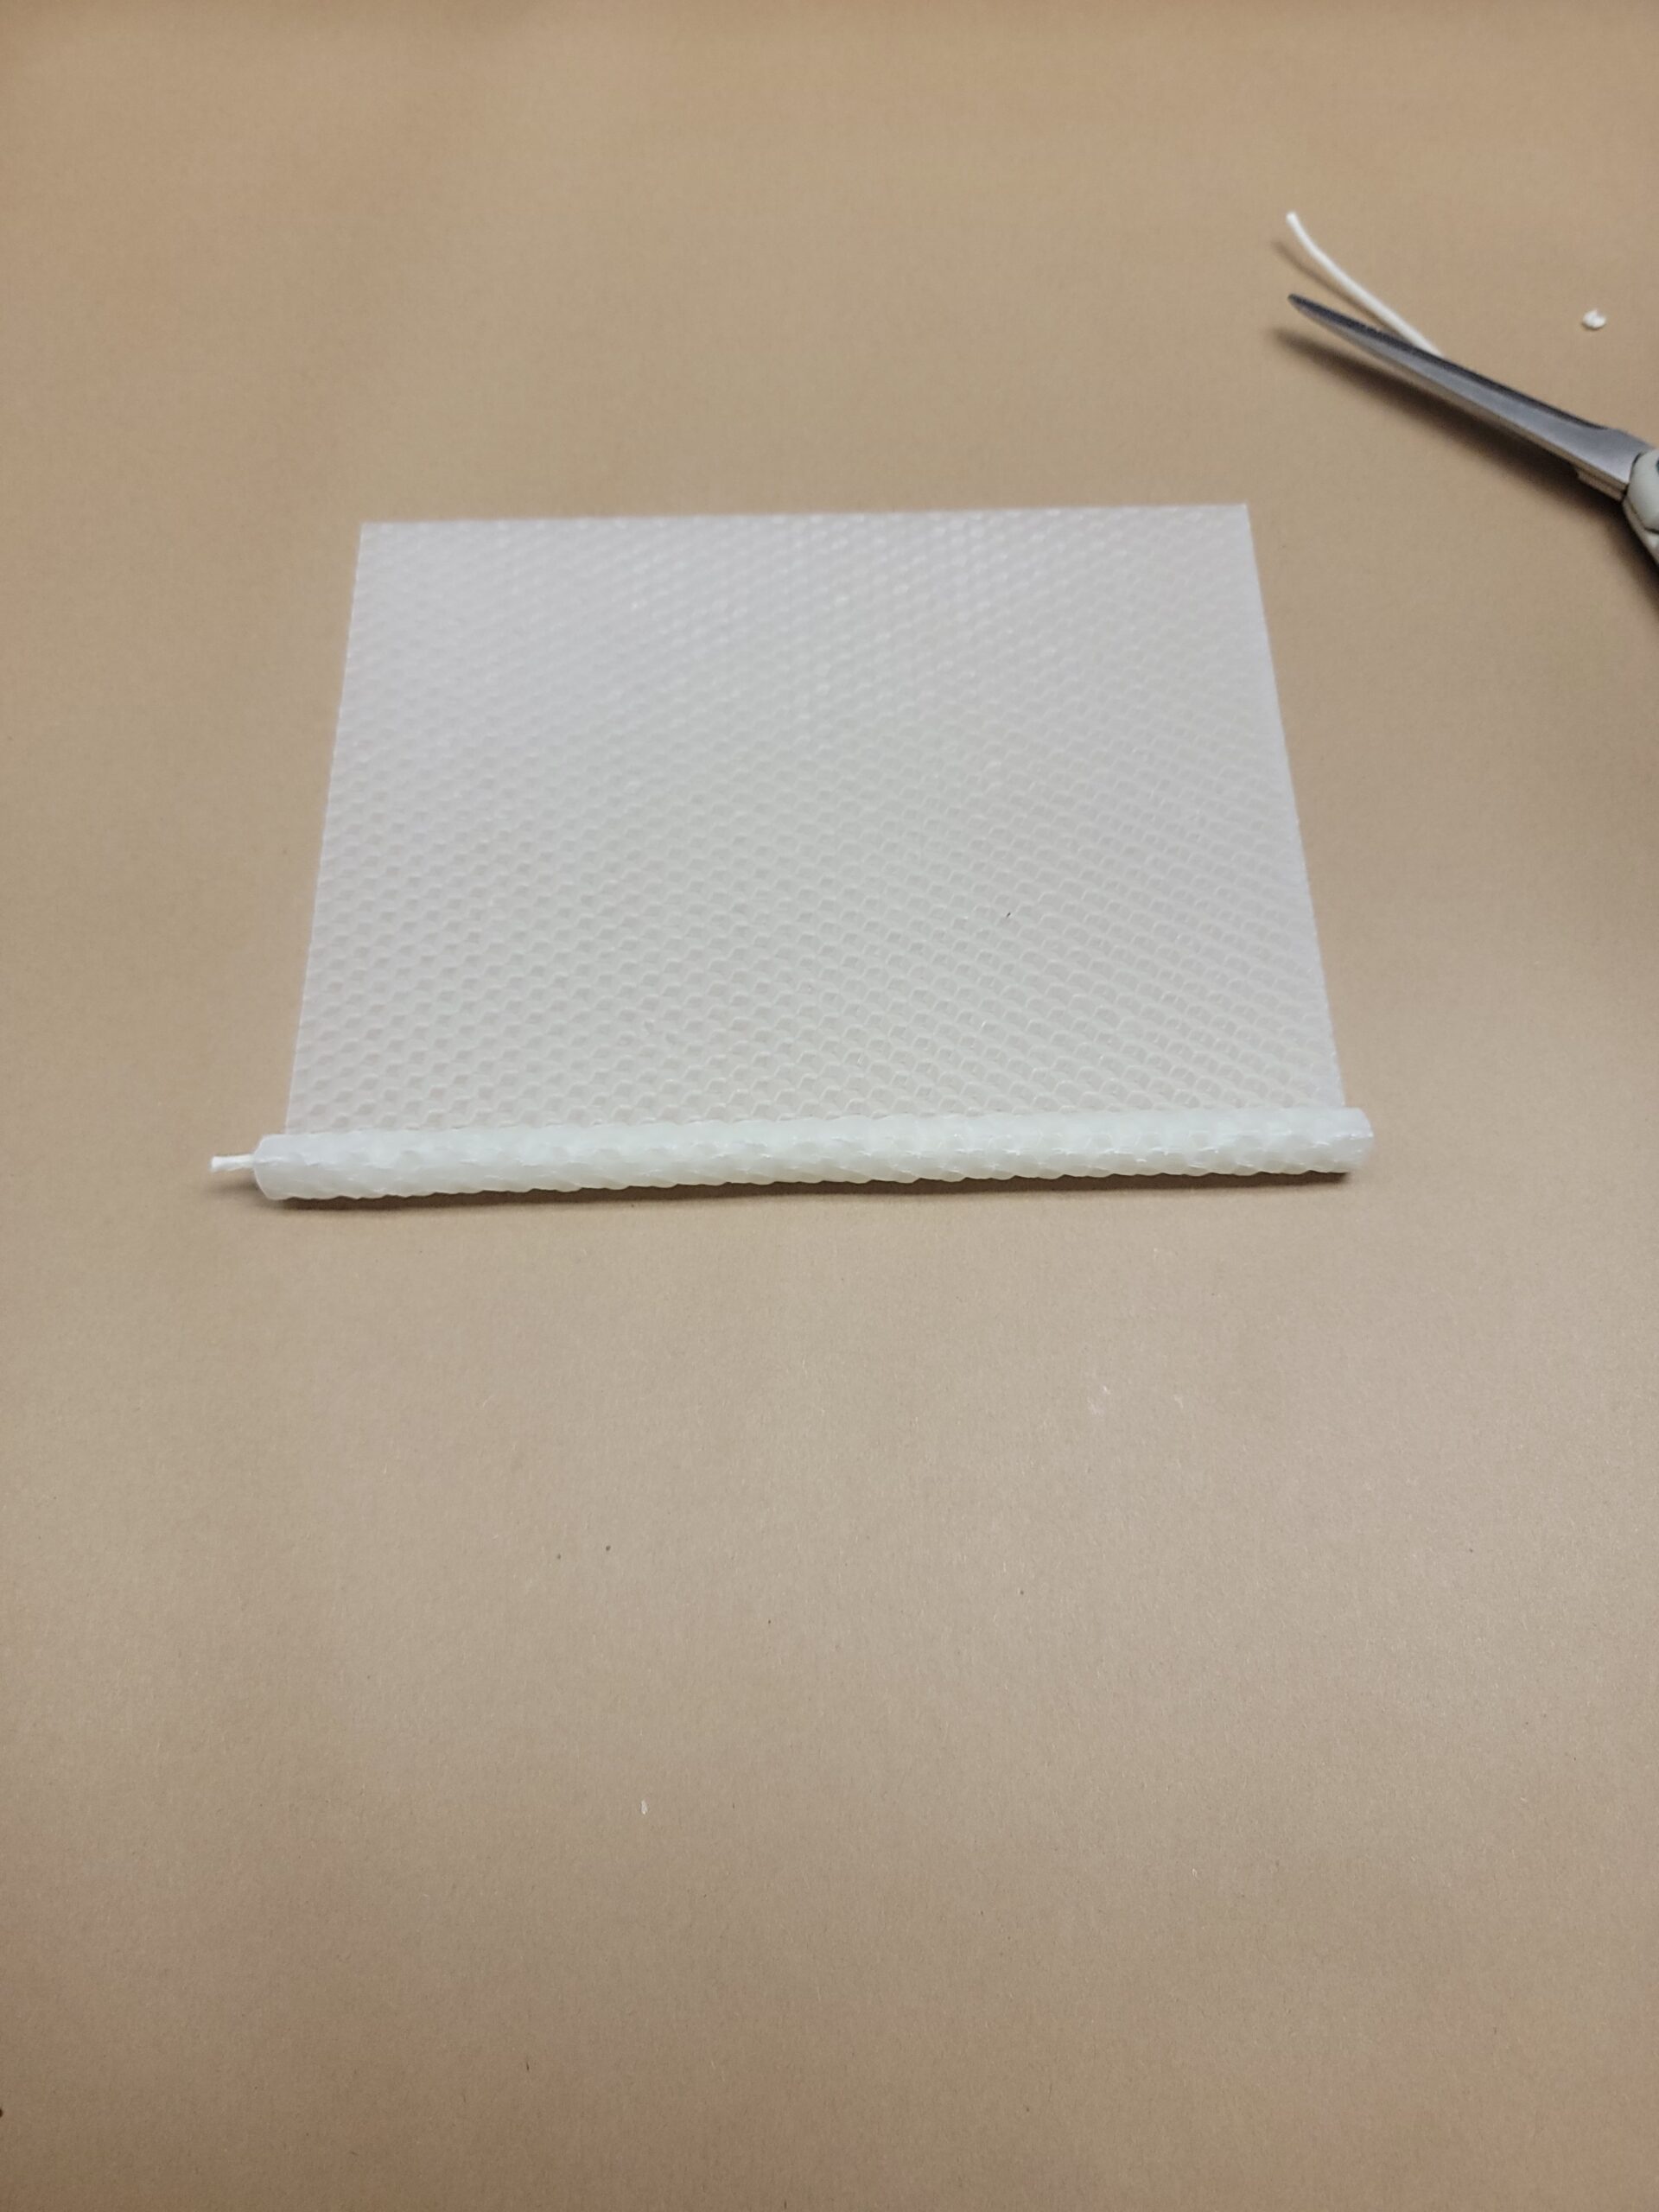
First wrap: Press the wick firmly into the edge of the sheet, then pinch the first wrap around the wick nice and tight. This anchors the wick and ensures it stays centered.
Continuing to roll: Keep rolling steadily, but don't press too hard or your candle will become oblong. The key is gentle, even pressure. As you roll, make sure the bottom edge stays straight and aligned—this will give your candle a firm, flat base.
Once you've rolled the entire sheet, use warm hands to seal it and then stand the candle upright on a flat surface. Gently but firmly press the base down onto the table to flatten it. This ensures your candle stands steady and burns evenly.
Stop by Beekind in Sebastopol to pick up a candle-rolling kit, or grab a few extra sheets and wicks to keep the tradition going all season long. Each kit comes with everything you need, and the candles you make will burn beautifully for hours.